
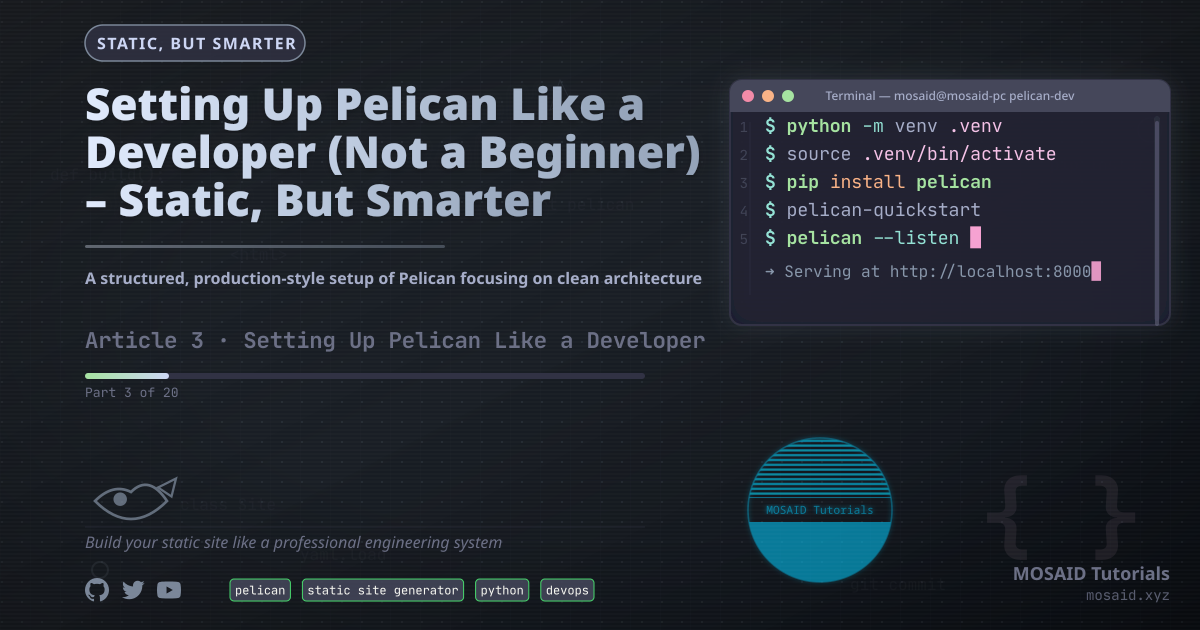
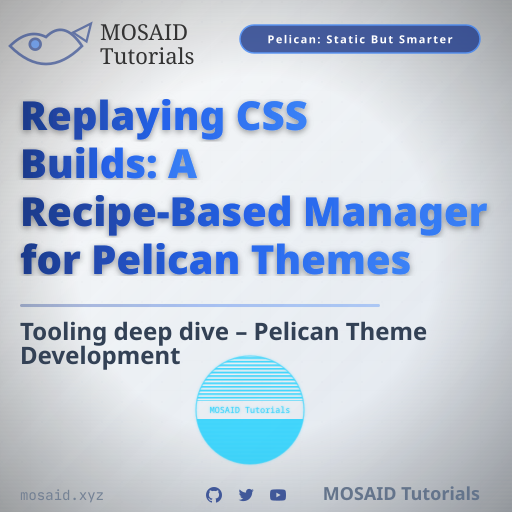
Building a Modular Banner Generator for Pelican – A Developer's Approach
0. The Real Problem Was Consistency
At first, banners were created manually. Some used PNGs, others SVGs. Typography changed between articles. Margins drifted. A few thumbnails were exported at the wrong aspect ratio.
The issue was not artistic quality. The issue was that visuals were outside the engineering workflow.
The moment article count passed 30+, image management became operational debt:
- One generic banner → weak brand identity
- Manual creation per article → unsustainable
- Hard‑coded HTML/CSS in the theme → inconsistent with social media previews
We needed a system: deterministic, themeable, and fully integrated into the Pelican workflow.
This article walks through the design and implementation of a banner generator that treats images as code – SVG components assembled from configuration, with no manual design work after the first setup. The system has since evolved to be completely extensible: new components, themes, and design presets are automatically discovered simply by placing files in the right directories – no code edits required.
1. Why Banners Must Be Generated, Not Drawn
The core problems mentioned above pointed to one principle: banners should be derived, not stored as binary blobs. A proper banner generator solves all three:
- Reproducible – the same input always produces the same SVG
- Theme‑aware – matches your Pelican theme’s colours and typography
- Data‑driven – pulls title, tags, category, and progress directly from article metadata
The output is a standard 1200×630 Open Graph image (or a square thumbnail), rendered as SVG and optionally rasterised to PNG.
Key idea: Banners become part of the build pipeline – no more design debt.
1.1 Why Not Use Existing Tools?
Before building a custom generator, obvious alternatives were considered:
- Canva / Figma: manual workflow, no API for mass generation, binary artefacts
- Puppeteer / Playwright screenshots: heavy dependencies, browser inconsistencies, slow, hard to version text
- Online OG generators: limited customisation, not part of local build, platform lock-in
- Pillow / PIL rendering: low-level, no native SVG support, poor typography control
None offered the combination of version control, theme reusability, and deterministic output that a static-site generator demands.
1.2 Why SVG Instead of HTML/CSS Canvas?
Several rendering approaches were tested:
- HTML + Playwright screenshots
- Pillow/PIL image rendering
- Canvas APIs
- Pure SVG generation
SVG won because it is:
- Text-based and version controllable – diff‑friendly in Git
- Resolution independent – perfect for both thumbnail and OG sizes
- Composable from reusable XML fragments – each component outputs a small SVG chunk
- Easy to theme dynamically – colours and fonts are just placeholder variables
- Cheap to rasterise into PNG – a single ImageMagick command
- Simple to diff in Git – visual regression testing possible
Unlike screenshot-based systems, SVG generation also avoids browser rendering inconsistencies and heavy dependencies.
2. Architecture: Components Over Templates
Instead of a monolithic image template, the generator is built from independent visual components. Each component knows how to render itself against a canvas and respects a global theme.
The core pipeline is simple:
BannerConfig (TOML) → BannerContext → Renderer → SVG
                       ↓
                (components in Z‑order)
            background, terminal, title, badges …
Components do not hard‑code positions or colours. They read from a theme dictionary and a layout configuration. This separation allows one design file to be rendered with any available theme.
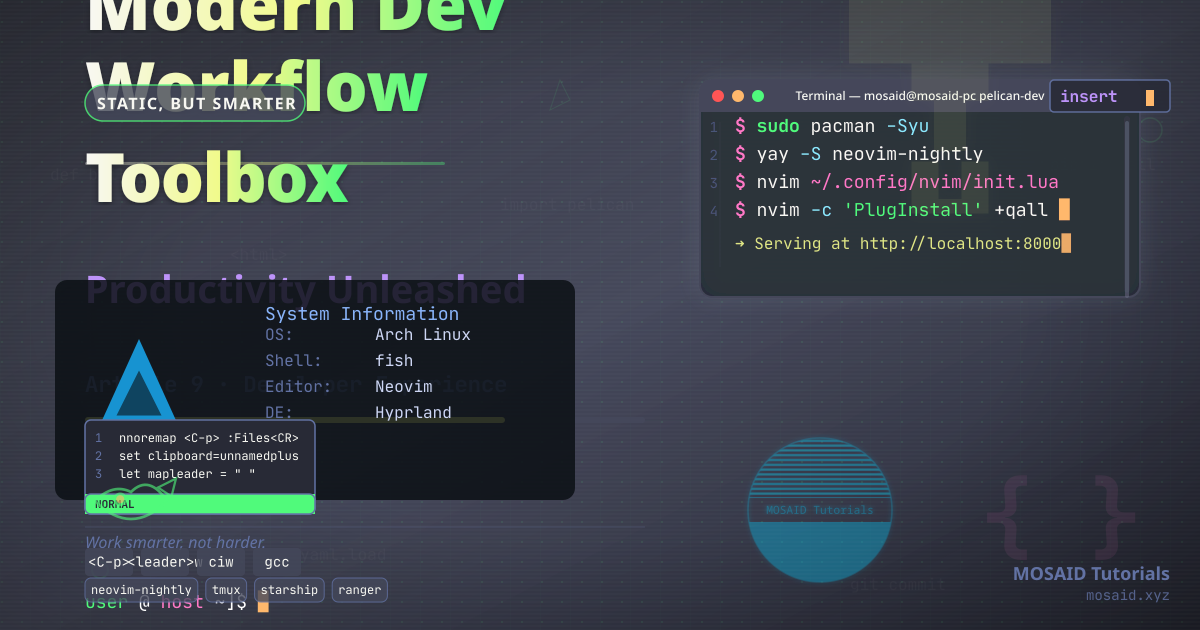
Dynamic component discovery: Since version 2.0, the factory no longer uses a hard‑coded registry. Instead, it scans the components/ directory at startup and automatically loads every valid Python module that exports a Component class. This means you can add a new visual element by simply dropping a .py file into the folder – no registration, no config edits. The CLI, the interactive workflow, and the generated TOML comments all update themselves to reflect the new component.
2.1 Component Example – Terminal Window
The terminal component is one of the most complex elements. It renders a list of commands with syntax highlighting, optional typing animations, and a responsive layout.
class TerminalComponent(BaseComponent):
    def render(self) -> str:
        cmds = self.cfg["terminal"]["commands"]
        out = []
        for i, cmd in enumerate(cmds):
            y = self.y_offset + start_y + i * spacing
            out.append(self._render_line(cmd, y, text_x))
        return "\n".join(out)
Each component also reports its consumed height, so the renderer can stack them vertically without absolute coordinates – a simple but powerful flow layout.
2.2 Rendering Lifecycle – Step by Step
The generation pipeline follows five deterministic stages:
- Load theme TOML (colours, layout defaults)
- Load design preset (component selection, text overrides)
- Merge into a
BannerContextthat holds all settings - Instantiate enabled components via a factory
- Render SVG fragments in z‑order, assemble final document
Article Metadata
        ↓
Design Preset
        ↓
Theme Merge
        ↓
BannerContext
        ↓
Component Factory
        ↓
SVG Renderer
        ↓
banner.svg
        ↓
ImageMagick
        ↓
banner.png
2.3 Why Deterministic Output Matters
Because banners are pure functions of their input configuration:
- The same design + metadata always yields the exact same SVG.
- It is impossible to accidentally “drift” a banner style.
- The system is CI‑friendly: any broken component immediately produces a visual diff.
- Regenerating an entire archive of hundreds of banners is safe and instant.
This determinism is what makes banners a first‑class part of the engineering workflow.
3. Project Structure
The generator follows a clean separation of responsibilities. The directory tree now supports nested folders so you can organise themes, designs, and even components if desired – all automatically discovered.
banner_generator/
├── components/        # Independent renderable SVG blocks (auto‑discovered)
├── core/              # Rendering pipeline, factory, context
├── themes/            # TOML colour/typography profiles (nested folders allowed)
├── designs/           # Preset compositions, now organised by category:
│   ├── articles/      #   tech and academic presets
│   ├── books/         #   covers (fantasy, mystery, corporate, …)
│   └── thumbnails/    #   square thumbnail presets
├── article_creator/   # Pelican workflow integration
├── cli.py             # Command‑line interface
├── generate.py        # Core generation entry point
└── README.md
| Directory | Responsibility |
|---|---|
components/ |
Independent renderable SVG blocks (auto‑loaded) |
core/ |
Rendering pipeline and orchestration |
themes/ |
Shared colour systems (any subfolder) |
designs/ |
Preset compositions (any subfolder) |
article_creator/ |
Pelican workflow integration |
4. Themes: One Source of Truth for Visual Identity
A theme is a TOML file that defines colours and layout defaults. No component knows about hex codes – they all reference keys like title_start or terminal_bg.
name = "Dracula"

[colors]
bg_start = "#282a36"
title_start = "#f8f8f2"
terminal_bg = "#1e1e2e"
status_badge_bg = "#44475a"

[layout]
title_font_size = 44
title_margin_top = 120
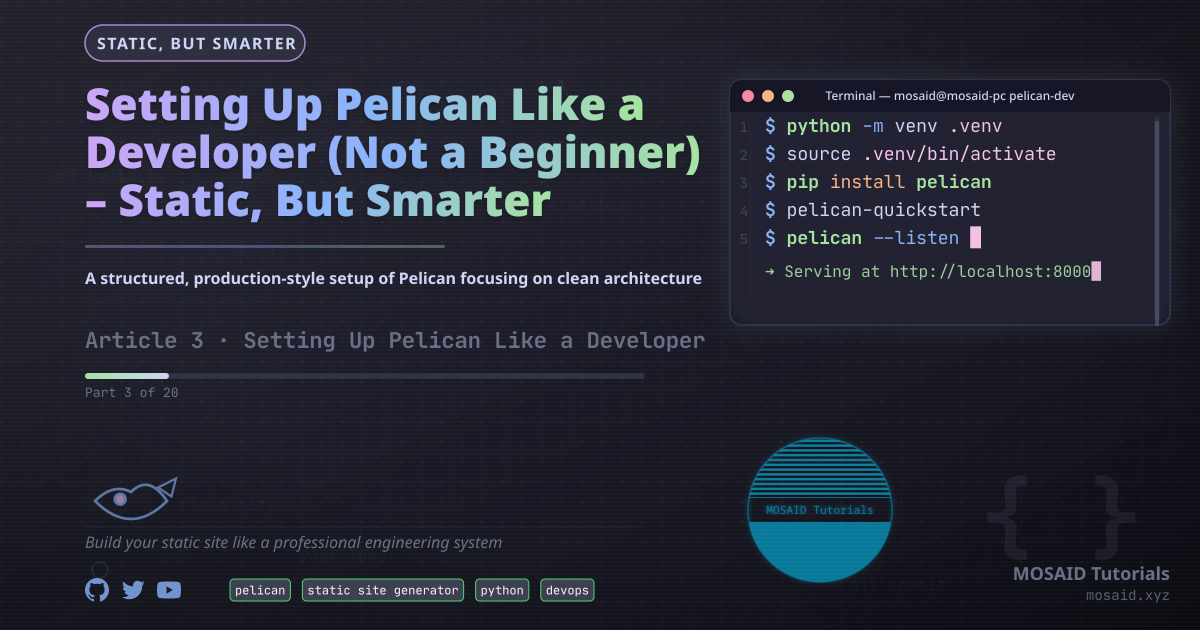
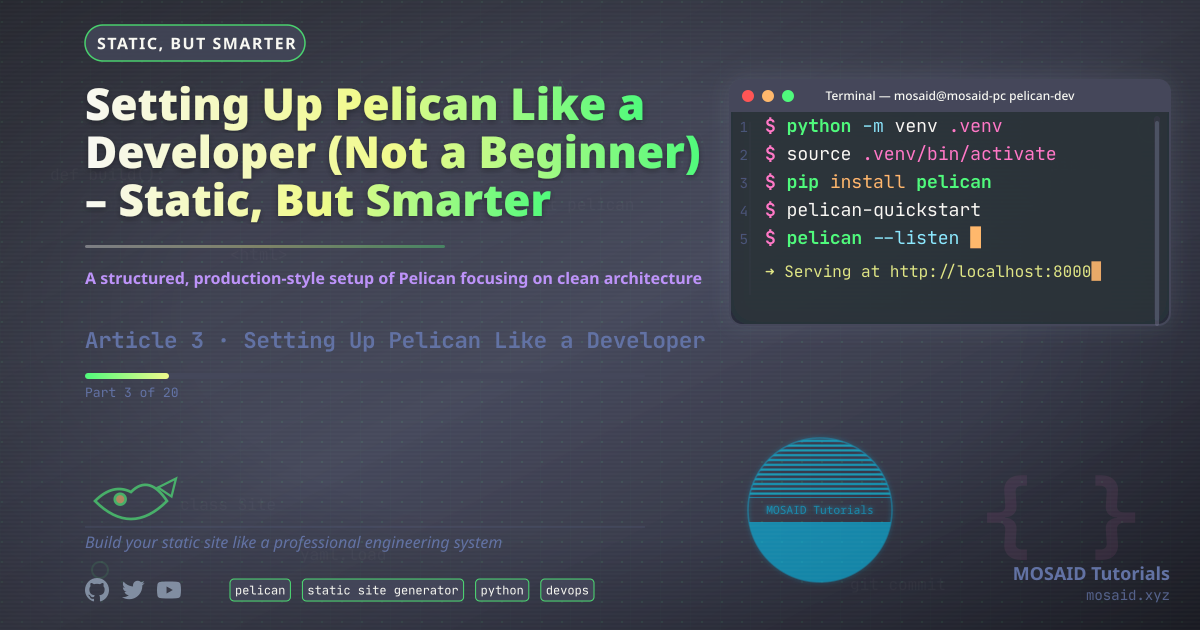
Switching from "Tech" to "Dracula" to "Catppuccin" is a one‑line change:
theme = "dracula"
Because every component reads from the same colour dictionary, the entire banner stays visually consistent. This is the same principle behind CSS custom properties – applied to SVG generation.
Themes can now be placed in subdirectories (e.g. themes/catppuccin/mocha.toml) and referenced as theme = "catppuccin/mocha". The system recursively searches all subfolders, making it easy to group themes by family or project.
4.1 Theme Inheritance and Fallbacks
Themes support a simple inheritance model. A theme can specify a parent key:
name = "custom"
parent = "dracula"
[colors]
title_start = "#ffffff"  # override only one colour
Any missing colours or layout values are automatically pulled from the parent. This allows minimal custom themes without duplicating the entire palette. Components access all colours through a merged dictionary, never knowing where the value originated.
4.2 Minimal Working Example
A complete banner can be generated with fewer than 20 lines of TOML:
theme = "tech"
title = "Hello Banner"
subtitle = "SVG generated"

[components]
show_title = true
show_background = true
Run it with:
python -m banner_generator.generate example.banner.toml
This gives you a themed, properly sized OG image without any design tool.
5. Design Presets: Reusable Blueprints
A design preset is a TOML file that selects a theme, sets layout overrides, and decides which components to show. It also provides placeholder text for titles, commands, badges, and social icons.
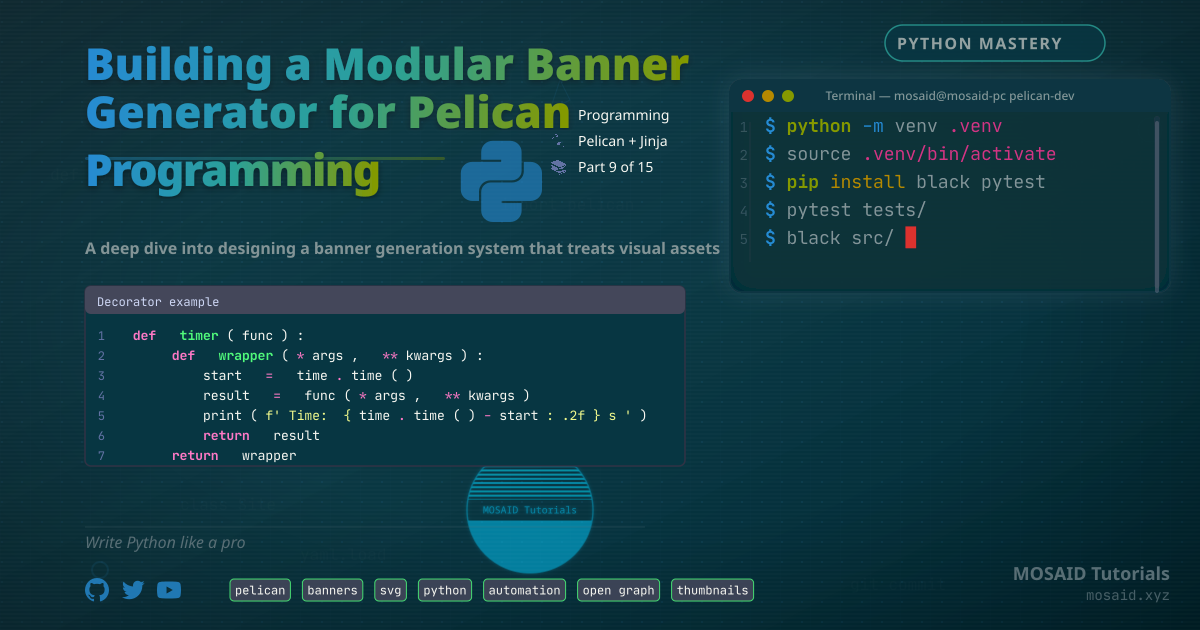
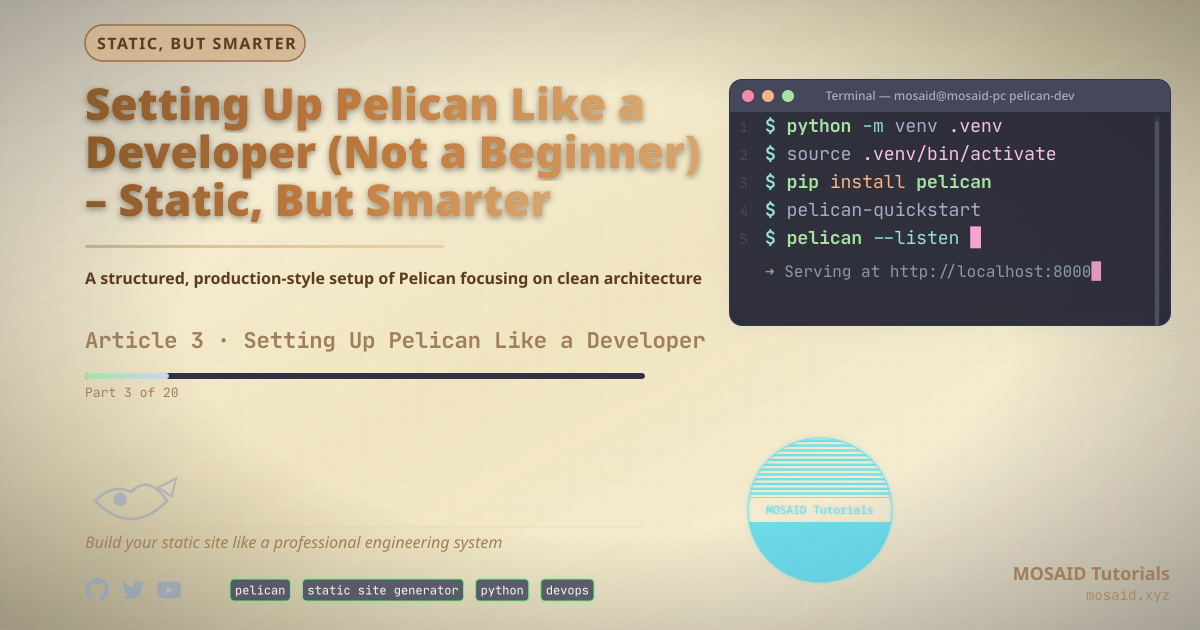
For example, a python_programming.banner.toml preset:
theme = "tech"
size = "og"
title = "Python Internals"
subtitle = "Decorators, generators, and async"
meta = "Article 9 · Advanced Python"

[components]
show_terminal = true
show_code_snippet = true
show_status_badges = true

[code_snippet]
language = "python"
code = ["def decorator(func):", "    return wrapper"]
These presets are stored as version‑controlled files. You can organise them into subdirectories – e.g., articles/tech/ for programming topics, books/fantasy/ for novel covers. The CLI and interactive tools discover them recursively, so you reference a design by its relative path, like books/fantasy/fantasy_book_cover.
During the article workflow, the system automatically suggests a design based on tags, category, and title keywords. If the article is about Linux, it suggests articles/tech/linux_homelab; if it contains "LaTeX", it leans toward articles/tech/latex_article. The suggestion engine works across nested directories without any extra configuration.
5.1 How Metadata Drives Visual Choices
The suggestion engine maps article metadata to design presets using simple rules:
| Metadata | Visual Result |
|---|---|
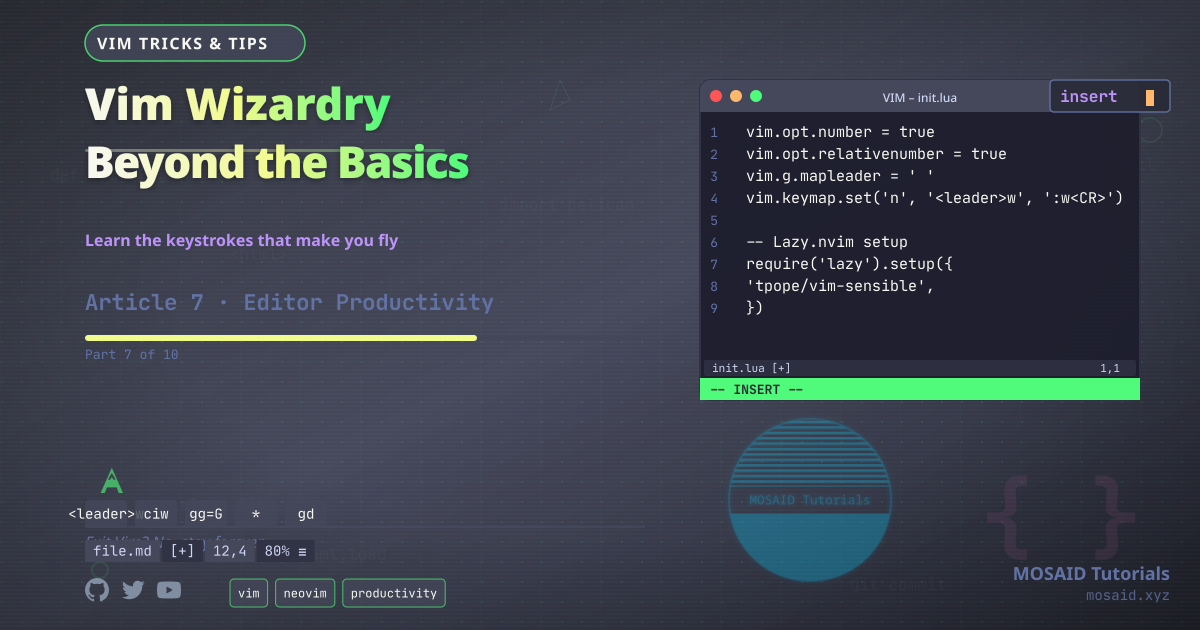
Tags: vim | Vim component suggested; code-focused layout |
Category: Linux | Linux preset selected; terminal component enabled |
Series: Python Deep Dive | Progress indicator enabled automatically |
Subcategory: Advanced | Badge colour changed to denote difficulty |
This mapping ensures new articles rarely need manual design file tweaks – the system picks a starting point that is already almost correct.
6. Integration into the Pelican Article Workflow
The generator is not a standalone script – it's a tightly integrated step inside the article creation pipeline.
When a new article is started:
- A working directory is created (
article-42/). - Metadata files (
title.txt,tags.txt,body.html) are edited. - The user is prompted to generate a banner – a design is chosen, a
banner.tomlfile is created, and the editor opens. - After editing the config, the SVG and PNG are rendered automatically.
- The same steps run for a square thumbnail (size = "thumbnail").
Both the banner and thumbnail are copied to the Pelican static directories with the article’s slug as the filename. The markdown front matter is updated with the correct Image: and Thumbnail: fields.
This eliminates any manual file renaming or path‑guessing.
Result: Every article gets a unique, on‑brand banner without touching a graphical editor.
6.1 Why Pelican (and Static Sites) Benefit Most
Static-site generators are build‑time systems. They already transform source files into output artefacts. Adding banner image generation to the pipeline is a natural extension – unlike dynamic CMS platforms where image generation would need to happen lazily or on upload. Because everything runs during pelican’s generation step, the images are always in sync with the content. There is no cache invalidation or stale state.
7. From SVG to PNG – Rasterisation in the Pipeline
SVG is perfect for the source format: it's text, versionable, and can contain animations (e.g. typing effects). But Open Graph and Twitter cards require static PNG images.
The generator uses ImageMagick (magick or convert) to rasterise the SVG at the exact canvas size:
magick banner.svg -resize 1200x630! banner.png
The ! flag forces the exact dimensions, which matches the Open Graph specification. For thumbnails, the canvas is 512×512, producing a perfect square ready for archive pages and social previews.
If ImageMagick is not available, the workflow still produces an SVG – the user can rasterise later. But in practice, every CI environment and local development machine includes it.
8. Performance and Caching
Generating a banner from scratch takes ~200ms on a modern machine – fast enough to run during every edit. But regeneration is only needed when the article metadata (title, tags) or the banner.toml changes.
The workflow checks for existing banner.png and thumbnail.png before regenerating. If they exist, the user is asked:
⚠️ banner.png already exists. Regenerate anyway? (Y/n)
This simple guard prevents accidental overwrites and keeps builds incremental. When the site is published, the images are rsync'd once – no unnecessary work.
9. Extending the Component Library
The current component set includes 35+ visual blocks, ranging from terminal windows and code editors to diagrams, charts, and decorative elements. A handful of widely used ones:
- Terminal – with typing animation and syntax‑highlighted commands
- Vim editor – code window with line numbers and mode indicator
- Status badges – tag pills that automatically map to article tags
- Code snippet – generic code block with Pygments highlighting
- Definition box – term + definition card
- Simple chart – bar chart for metrics or survey data
- Latex source – formatted LaTeX code block
- Network diagram – nodes and connections
- Database tables – entity relationship visualisation
- Kanban board – columns and cards
Adding a new component requires zero changes to the core engine. Simply:
- Create a new Python file under
banner_generator/components/. - Implement a
Componentclass that inherits fromBaseComponent, defines a unique stringcomponent_id, and assigns a numericz_indexfor layering. - Write the
render()method (and optionallydefs()if the component needs SVG gradients or filters).
Once the file is saved, the component is immediately available:
- The banner generator discovers it on the next startup.
- The CLI automatically lists the new
show_<id>toggle in every generatedbanner.tomlcomment block. - The interactive article workflow suggests it if the design requires that component.
- The renderer stacks it in the correct z‑order using its declared
z_index.
There is no master list to update, no factory map to edit, and no configuration file to touch. The only requirement is that the component follows the simple contract: component_id and inheritance from BaseComponent. Invalid or broken components are gracefully skipped with a warning, keeping the whole system stable.
9.1 Hands‑on: Building a Minimal Component
Every component inherits from BaseComponent. A component only needs geometry calculations and a render() method that returns SVG markup.
class Component(BaseComponent):
component_id = "divider"
z_index = 50
def render(self):
return f'''
Save the file as banner_generator/components/divider.py and the system will auto‑discover it. Any design preset can then include it by setting show_divider = true. That’s the entire workflow – no central orchestration changes required, ever.
Gallery: All Generated Banners (Designs & Themes)
Below you can see the complete set of banners produced by the generator – both from design presets and from theme variations. Each image links to its full‑size version. This gallery demonstrates the flexibility and consistency of the system.
Design presets combine a specific component selection, layout strategy, and a theme. Changing the theme for a given design preserves the same visual structure but applies a new colour palette and typography.
🎨 Design Presets

🎨 Theme Variations
Theme variations apply different colour palettes to the same underlying design components. Notice how structure remains identical while mood changes completely.

10. CLI Usage at a Glance
The entire workflow is driven through a simple CLI, designed to feel familiar to developers:
# Start a new article (triggers banner generation prompts)
python cli.py article new

# Generate a banner from an existing config
python cli.py banner generate article-42/banner.toml

# Generate from a design preset (nested path works)
python cli.py banner --design articles/tech/python_programming --svg --png

# Use presets organised in subdirectories
python cli.py banner --design books/fantasy/fantasy_book_cover --out-dir ./covers
These commands are callable from Makefile targets, CI scripts, or IDE task runners – no GUI needed.
11. Problems Encountered During Development
No system is built without hitting real‑world snags. These are the most significant issues we faced:
- Font inconsistency across OSes: SVG fonts rendered differently on Ubuntu, macOS, and Alpine. The fix was embedding a subset of the primary font as base64 inside the SVG.
- SVG filters crippled rasterisation speed: drop shadows and blur effects increased
magicktime from 200 ms to 3 seconds. Filters were eventually moved to optional “premium” themes. - Gradients produced banding in PNG: some gradient stops required exact placement to avoid visual artefacts at 1200×630.
- Long article titles overflowed: titles exceeding 80 characters had to be truncated with an ellipsis, and a multi‑line fallback was added.
- Typing animations broke social crawlers: Twitter and LinkedIn ignored animated SVGs; we added a static fallback frame for PNG export.
12. What's Next – Animated Banners and A/B Testing
The current generator produces either static PNGs or animated SVGs. The animated SVG retains typing effects, blinking cursors, and rotating watermarks – perfect for embedding in HTML articles or interactive documentation.
Future directions:
- Video previews – render a few seconds of animated SVG to MP4 for social media.
- Remote generation API – expose the generator as a microservice for other Pelican sites.
- A/B testing – automatically generate two design variants and compare click‑through rates.
- Component packs – distribute theme+component bundles as installable Python packages.
- Static caching at scale – use content‑addressed storage so regenerating a big site only updates changed banners.
But even in its current form, the banner generator has already paid for itself by eliminating hundreds of manual design hours.
13. Final Thoughts – Treat Images Like Source Code
The most important lesson from building this system is conceptual: banners are not assets – they are derivations. They should be generated from metadata, not stored as binary blobs.
Once you accept that, everything becomes simpler:
- Version control stays clean (only TOML and theme files change).
- Brand updates apply retroactively (change a colour in the theme, regenerate everything).
- New articles never block on design work.
The banner generator is now an integral part of the Pelican publishing pipeline – running silently in the background, producing professional visuals without a single click in Photoshop.
If your static site still relies on manual image editing, it's time to automate. And the code is already waiting in pelican_tools repository
Recent Articles


Most Viewed Articles


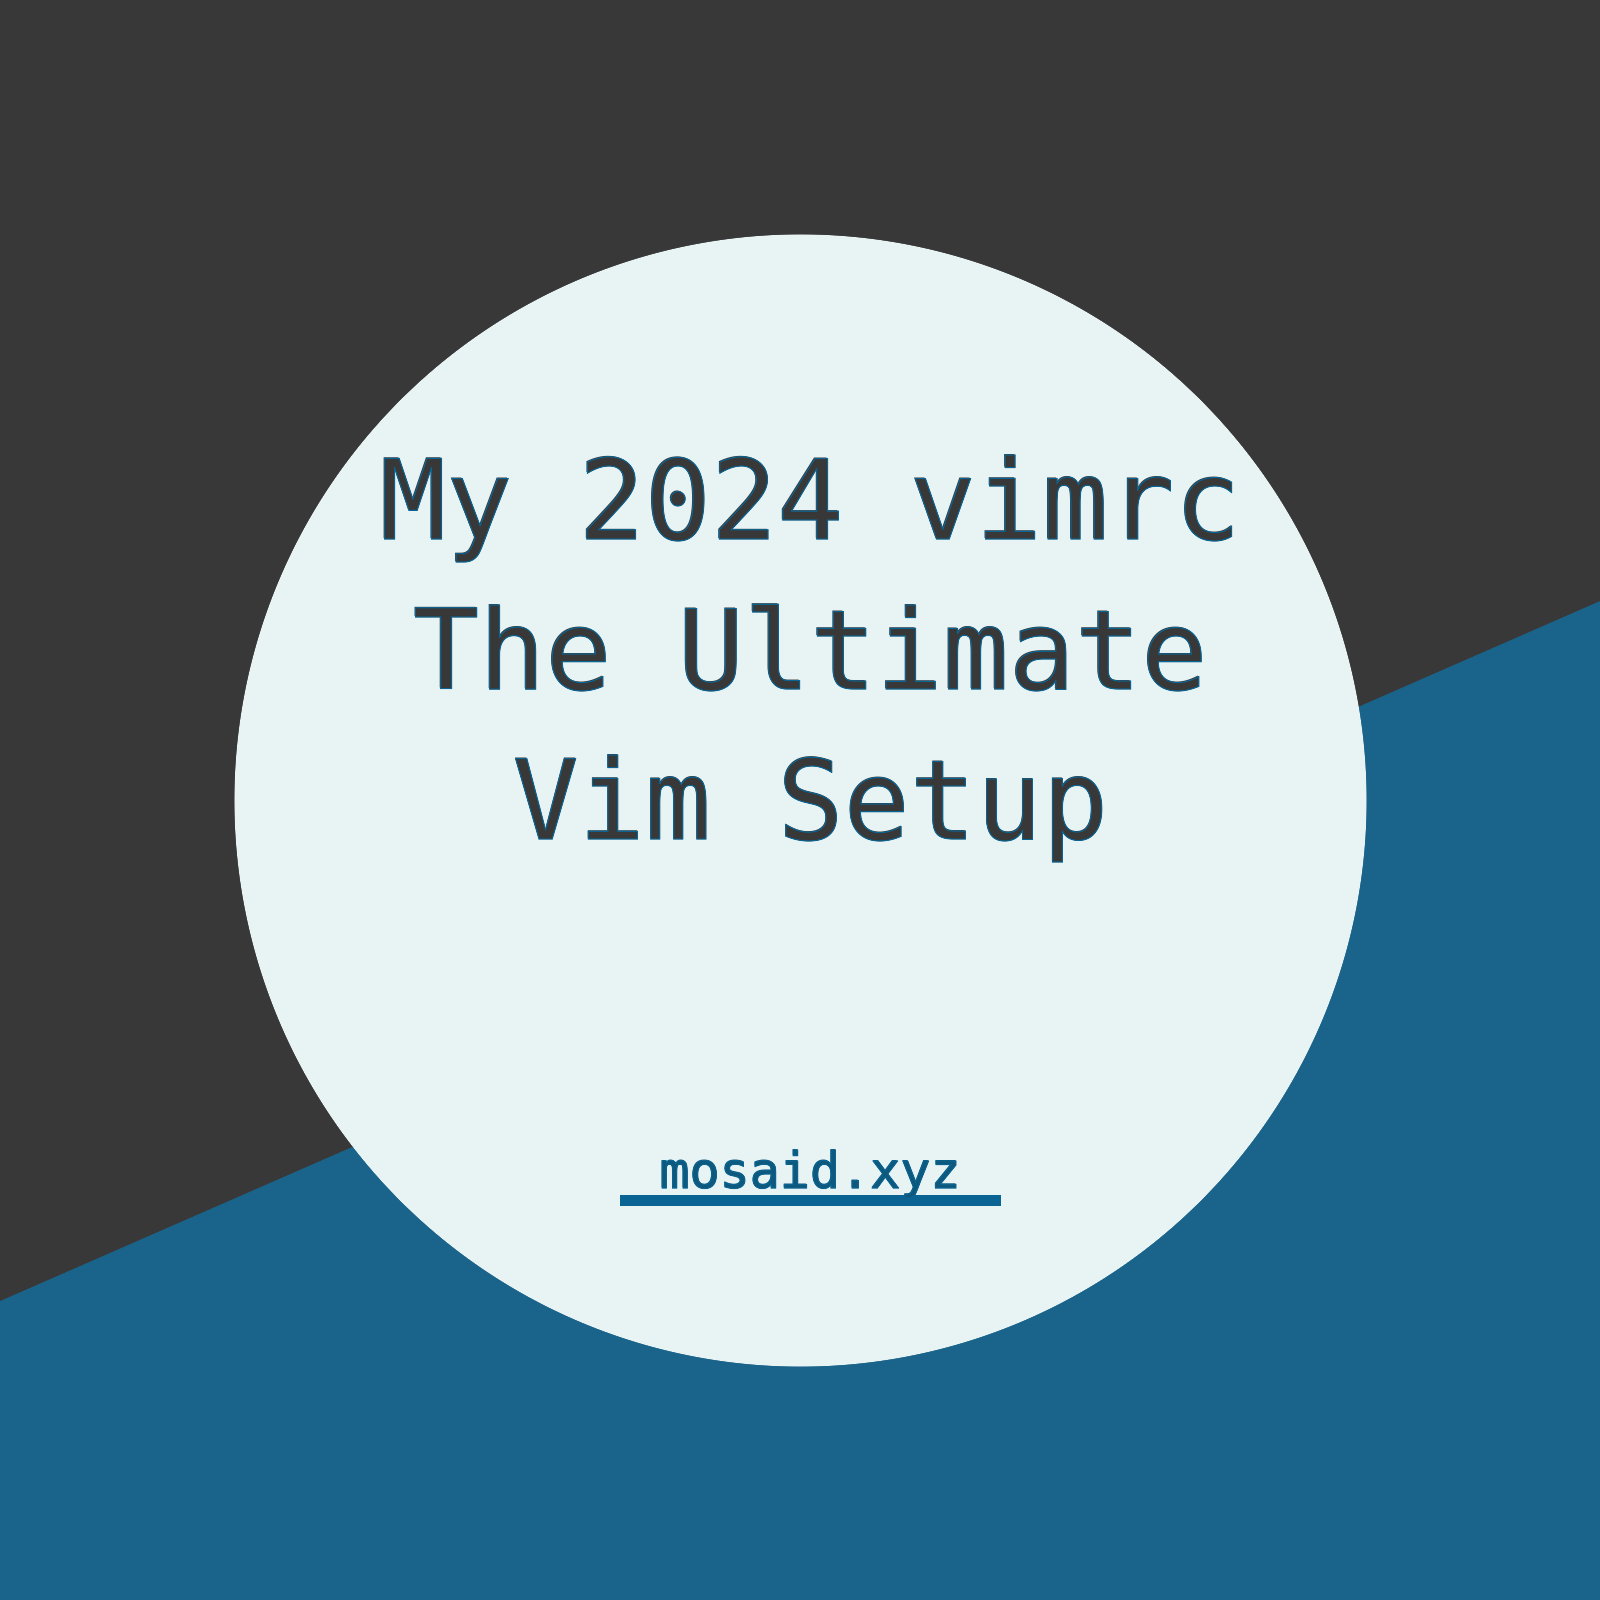
The Ultimate Vim Setup (My 2024 vimrc ) : Essential Commands, Configurations, and Plugin Tips
Views: 1.33K
12 Apr 2024

Complete Tutorial: Creating Categories and Subcategories Using Pages in Pelican
Views: 1.03K
24 Jun 2025
Leave a comment