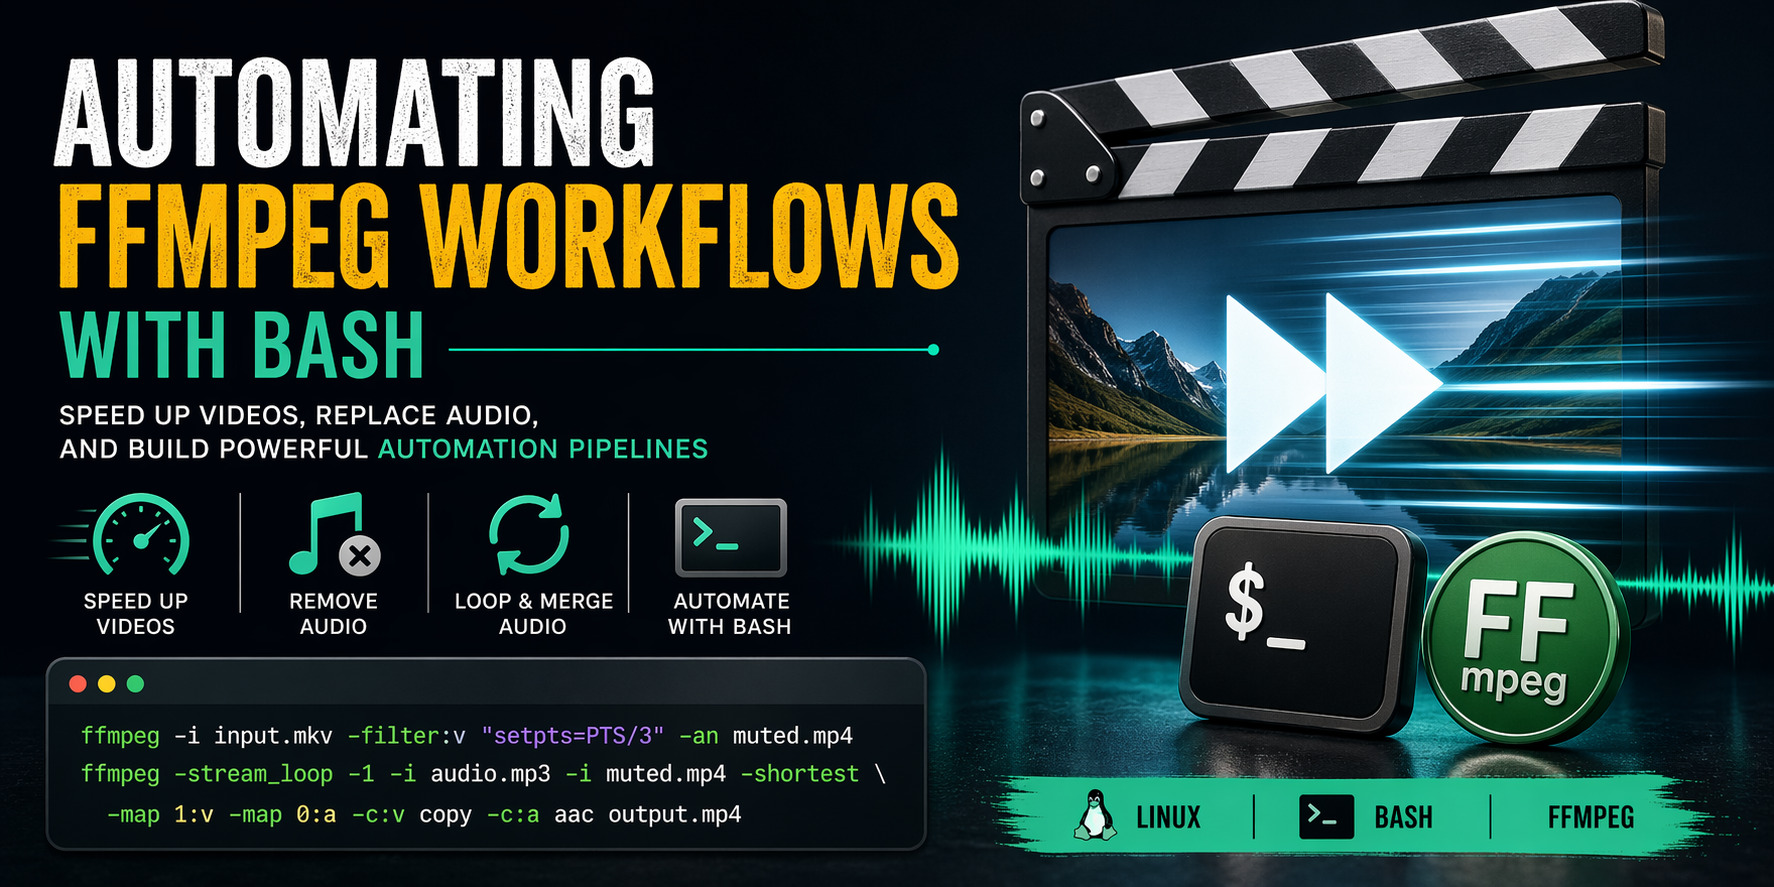
Automating Video Speed-Up and Audio Replacement with FFmpeg and Bash
In this tutorial, we are not just writing a quick script — we are building a reusable video processing workflow around FFmpeg and Bash.
The goal is simple on the surface:
• Speed up a video
• Remove its original audio
• Replace it with a looping background track
But instead of treating this as a one-off command, we will break down the why, the mechanics, and the trade-offs, so you can extend this into your own pipelines.
1. The Complete Script
Let’s start with the full working version:
#!/bin/bash

set -e

INPUT="$1"
SPEED_FACTOR="${2:-3}"

if [ -z "$INPUT" ]; then
    echo "Usage: $0 input_video.mkv [speed]"
    exit 1
fi

AUDIO_DIR="/home/mosaid/Documents/audio"

echo "Available audio files:"
mapfile -t AUDIO_FILES <<(find "$AUDIO_DIR" -maxdepth 1 -type f -name "*.mp3")

if [ ${#AUDIO_FILES[@]} -eq 0 ]; then
    echo "No mp3 files found."
    exit 1
fi

for i in "${!AUDIO_FILES[@]}"; do
    echo "$((i+1))) $(basename "${AUDIO_FILES[$i]}")"
done

read -rp "Choose an audio file: " AUDIO_CHOICE

AUDIO="${AUDIO_FILES[$((AUDIO_CHOICE-1))]}"

BASENAME="$(basename "${INPUT%.*}")"
MUTED="$(mktemp --suffix=.mp4)"
SPEED="$(mktemp --suffix=.mp4)"
FINAL="${BASENAME}-final.mp4"

ffmpeg -y -i "$INPUT" -c:v copy -an "$MUTED"

ffmpeg -y -i "$MUTED" -filter:v "setpts=PTS/${SPEED_FACTOR}" "$SPEED"

ffmpeg -y -stream_loop -1 -i "$AUDIO" -i "$SPEED" -shortest \
  -map 1:v -map 0:a -c:v copy -c:a aac "$FINAL"

rm -f "$MUTED" "$SPEED"

echo "Output: $FINAL"
2. Understanding the Pipeline
This script is intentionally split into three distinct FFmpeg passes. That is not accidental.
• Pass 1 → Strip audio
• Pass 2 → Modify video timing
• Pass 3 → Rebuild final container
This separation keeps each step predictable and avoids subtle FFmpeg sync issues that often appear in one-liners.
3. Why We Remove Audio First
ffmpeg -y -i "$INPUT" -c:v copy -an "$MUTED"
•-c:v copy → No re-encoding (this is critical for performance)
•-an → Drop all audio streams
Why do this first?
• It guarantees a clean base (no leftover streams)
• It avoids audio/video desync after time manipulation
• It keeps the pipeline deterministic
Power-user insight:
If you skip this step and try to manipulate both streams at once, FFmpeg may keep timestamps that no longer align.
4. The Core Concept: setpts
ffmpeg -y -i "$MUTED" -filter:v "setpts=PTS/${SPEED_FACTOR}" "$SPEED"
This is the heart of the script.
•PTS = Presentation Timestamp
• Every frame has a timestamp that determines when it is displayed
When you write:
• PTS/3 → Frames are shown 3× faster
• PTS*2 → Frames are shown slower
So we are not "dropping frames" or "changing FPS" — we are modifying time itself at the container level.
This is why the operation is both:
• Efficient
• Precise
Advanced Note
If you wanted to also adjust audio speed (instead of replacing it), you would need:
-filter:a "atempo=2.0"
But here we intentionally discard audio entirely, which simplifies everything.
5. Looping Audio Without Guessing Duration
ffmpeg -y -stream_loop -1 -i "$AUDIO" -i "$SPEED" -shortest \
  -map 1:v -map 0:a -c:v copy -c:a aac "$FINAL"
This is a very clean pattern that many people overlook.
•-stream_loop -1 → Infinite loop
•-shortest → Output stops when video ends
This avoids:
• Manually trimming audio
• Calculating durations
• Writing fragile logic
Stream Mapping (Important)
•-map 1:v → Take video from second input
•-map 0:a → Take audio from first input
Without this, FFmpeg may choose streams implicitly — which is unreliable in automation scripts.
6. Temporary Files Strategy
MUTED="$(mktemp --suffix=.mp4)"
SPEED="$(mktemp --suffix=.mp4)"
Using mktemp instead of fixed filenames is a small but important detail:
• Prevents collisions
• Makes the script safe for parallel execution
• Avoids accidental overwrites
This is one of those habits that separates quick scripts from robust tooling.
7. Interactive Selection vs Automation
The script uses:
mapfile -t AUDIO_FILES <<(find "$AUDIO_DIR" -name "*.mp3")
This is simple and portable — but not optimal for heavy usage.
Upgrade: fzf Integration
AUDIO=$(find "$AUDIO_DIR" -type f -name "*.mp3" | fzf)
• Instant fuzzy search
• No manual indexing
• Better UX for large libraries
This is the kind of improvement power users appreciate immediately.
8. Performance Considerations
This pipeline is efficient because:
• No video re-encoding (stream copy)
• Only one transformation step (PTS)
• Lightweight final muxing
However:
• The setpts step does require re-encoding
• That is unavoidable when modifying timestamps
If performance becomes critical, you can:
• Use hardware acceleration (VAAPI / NVENC)
• Lower resolution before processing
9. Turning This Into a Real Tool
Right now, this is a script. With small changes, it becomes a proper CLI utility:
• Add flags (-i, -s, -a)
• Add logging
• Add dry-run mode
• Add batch processing
Example batch usage:
for f in *.mkv; do
    ./process.sh "$f" 2
done
10. Where This Fits in Real Workflows
This pattern is surprisingly useful:
•Lecture acceleration: compress hours into minutes
•Content pipelines: generate background visuals
•Automation: integrate with cron or systemd
•Media cleanup: replace poor audio tracks
And more importantly:
• It composes well with other Unix tools
Final Thoughts
The real takeaway here is not the script itself — it is the approach:
• Break pipelines into deterministic steps
• Understand what FFmpeg is doing internally
• Prefer explicit mapping and control
Once you think this way, FFmpeg stops being a "command generator" and becomes a reliable building block in your system.
From here, you can extend this into a full automation pipeline, integrate it into your desktop workflow, or even expose it as a service.
Recent Articles


Most Viewed Articles


The Ultimate Vim Setup (My 2024 vimrc ) : Essential Commands, Configurations, and Plugin Tips
Views: 1.33K
12 Apr 2024


Complete Tutorial: Creating Categories and Subcategories Using Pages in Pelican
Views: 1.02K
24 Jun 2025
Leave a comment