Terminal Magic: Simplifying Image Editing for Busy Professionals
Category: Linux
Date: 5 months ago
Views: 618
Are you like me, you don't like to edit images, or rather you don't have the time to waste learning how to use sophisticated image editing software like Gimp or Photoshop, but sometimes you want to make thorough changes to images. This article is just for you.
In this article, I am going to show you just how easy it is to add a red hue to an image, flip it blur a part of it or just crop it with single commands in your terminal and much more. Image editing will become a fun activity as you hack your way around it. So let's get started
1. Flip and Flop
Flipping and flopping images can offer a fresh perspective or correct orientation with just a simple command. Whether it's turning a landscape shot on its head or adjusting the orientation of a portrait, the terminal holds the key to effortless transformations. here is how to do it
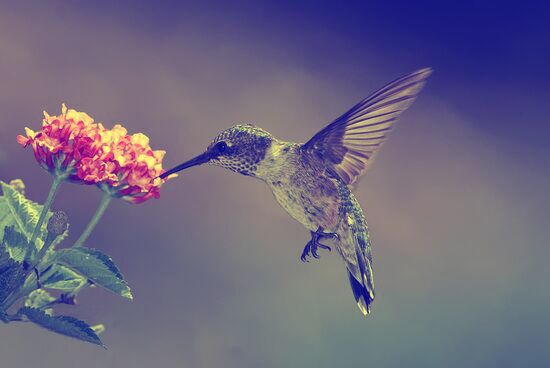
# I resized a big image for this article:
convert hummingbird.jpg -resize 20% hummingbird-small.jpg
# flop (mirror) it
convert hummingbird-small.jpg -flop hummingbird-flop.jpg
# flip it (vertically)
convert hummingbird-small.jpg -flip hummingbird-flip.jpg
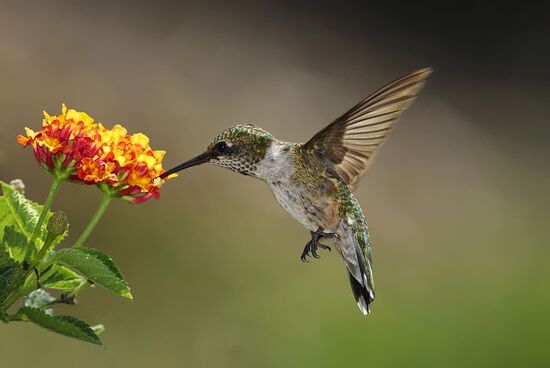
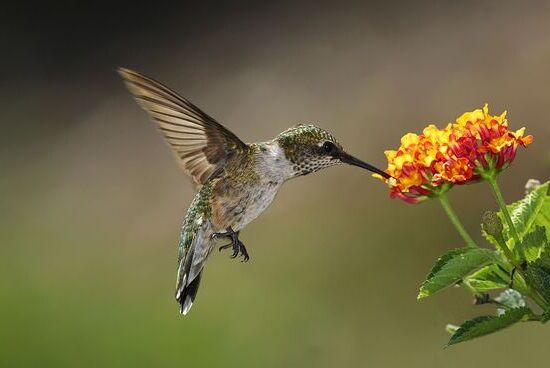
So, for flipping (mirroring) horizontally, you use -flop, and for flipping vertically, you use -flip. I hope this clears up any confusion.
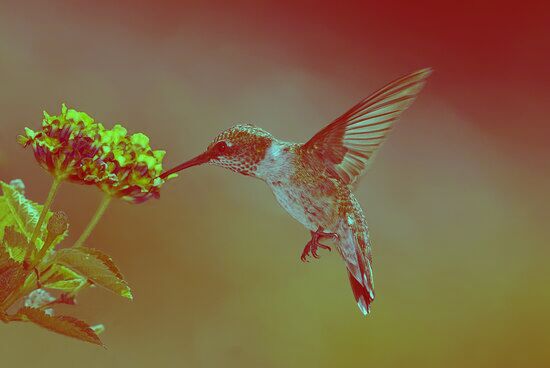
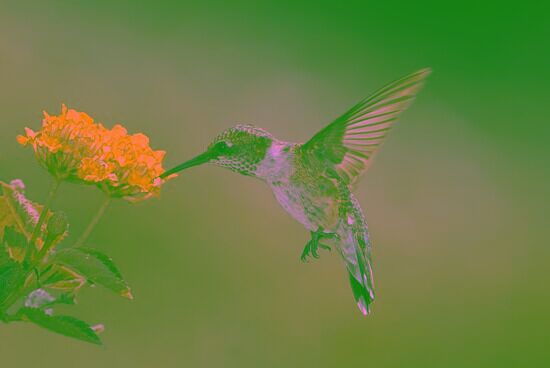
2. Red or Green Hue
Injecting a burst of color into your images is now just a command away. Say goodbye to the complexities of intricate editing software and hello to vibrant imagery with a single terminal command. Whether it's a bold red hue to intensify emotions or a serene green tint to evoke nature's tranquility
convert hummingbird-small.jpg -channel G -evaluate set 50% +channel hummingbird-green.jpg
convert hummingbird-small.jpg -channel B -evaluate set 50% +channel hummingbird-blue.jpg
convert hummingbird-small.jpg -channel R -evaluate set 50% +channel hummingbird-red.jpg
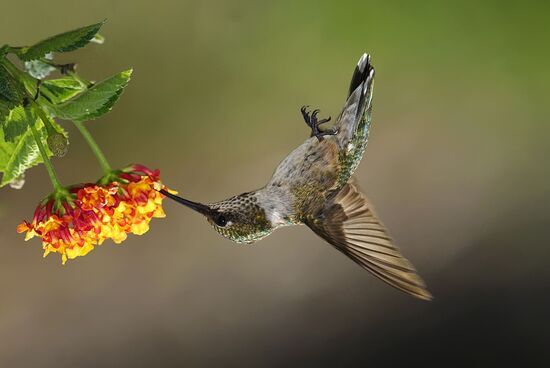
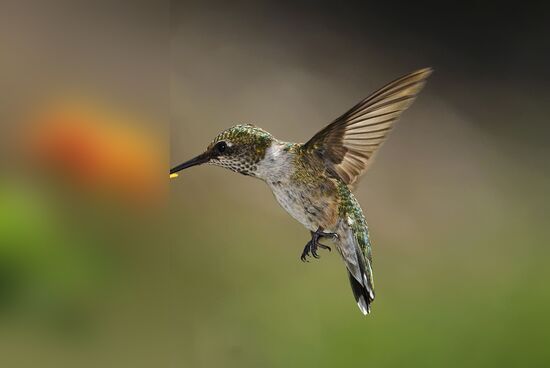
3. Blur or Erase a Part of the Image
Ever wished to blur out sensitive information or seamlessly remove distractions from your images? With terminal magic, achieving a polished and professional look is easier than you think. From blurring out background noise to erasing unwanted elements, I'll demonstrate how to wield the power of image manipulation with precision and finesse.
Here's the command to do it:
convert input.jpg -region WxH+X+Y -blur 0x8 output_blurred.jpg
Replace `input.jpg` with the name of your input image file, `W` and `H` with the width and height of the rectangle, and `X` and `Y` with the coordinates of the top-left corner of the rectangle. Adjust the `0x18` parameter in the `-blur` option to control the intensity of the blur effect (larger values mean more blur).
convert hummingbird-small.jpg -region 170x750+0+0 -blur 0x18 hummingbird-blurred.jpg
4. Convert Font Awesome Icons Text to Images
Rather than loading the Font Awesome CDN on my website just to use a few icons, I create them myself. Whether it's for presentations, graphics, or personal projects, this approach allows for greater flexibility and control over icon usage without the overhead of external dependencies. Transforming text-based icons into versatile images opens up a world of creative possibilities tailored to individual needs and preferences.
I have a file icon-list.txt with a huge list of Font Awesome icons in Unicode like this:
<span lang='heart' foreground='#78d5e8' face='Font Awesome'></span> heart
<span lang='star' foreground='#a9b2fc' face='Font Awesome'></span> star
<span lang='star-o' foreground='#f2fc83' face='Font Awesome'></span> star-o
<span lang='user' foreground='#a0ff77' face='Font Awesome'></span> user
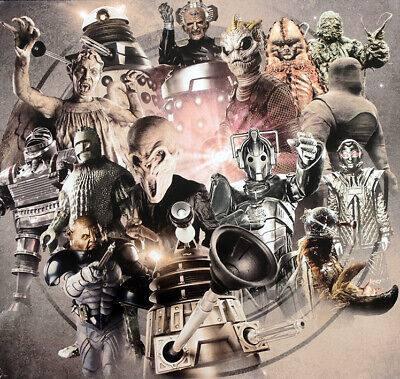
<span lang='film' foreground='#f7b0af' face='Font Awesome'></span> film
<span lang='th-large' foreground='#9890f4' face='Font Awesome'></span> th-large
<span lang='th' foreground='#fcedc2' face='Font Awesome'></span> th
 And here is the shell script I use to create icons:
![]()
#!/bin/bash

options='-columns 6 -width 100 -lines 20 -bw 2 -yoffset -20 -location 1'

selected=$( cat ~/.i3/icon-list.txt | rofi -dmenu -i -markup-rows -p "Select icon")

# exit if nothing is selected
[[ -z $selected ]] &&  exit

iconcode=$( echo "$selected" | awk -F';' -v RS='>' 'NR==2{sub("&#x","",$1);print "\\u" $1;exit}' )
color=$( echo "$selected" | sed -E "s/^.*='#(.{6}).*$/\1/" )
icon=$(echo -ne $iconcode)
iconname=$( echo "$selected" | cut -d\' -f2 )

r=$(printf "%d" "0x${color:1:2}")
g=$(printf "%d" "0x${color:3:2}")
b=$(printf "%d" "0x${color:5:2}")

file="${HOME}/Pictures/icons/${iconname}.png"
echo "Selected icon name: $iconname"
echo "Selected icon : $icon"

convert -size 50x50 xc:none -background none -font "/home/mosaid/.fonts/fa-solid-900.ttf" -pointsize 48 -fill "rgba($r,$g,$b,1)" -gravity center -draw "text 0,0 '$icon'" "$file"

feh $file
The script utilizes `rofi` to display the icon list interactively, facilitating seamless selection of the desired icon. Once a selection is made, the script employs the powerful `convert` command from ImageMagick to transform the chosen icon's Unicode representation into a PNG image. This image is then promptly displayed using `feh`, providing immediate visual feedback and enabling further exploration or utilization.
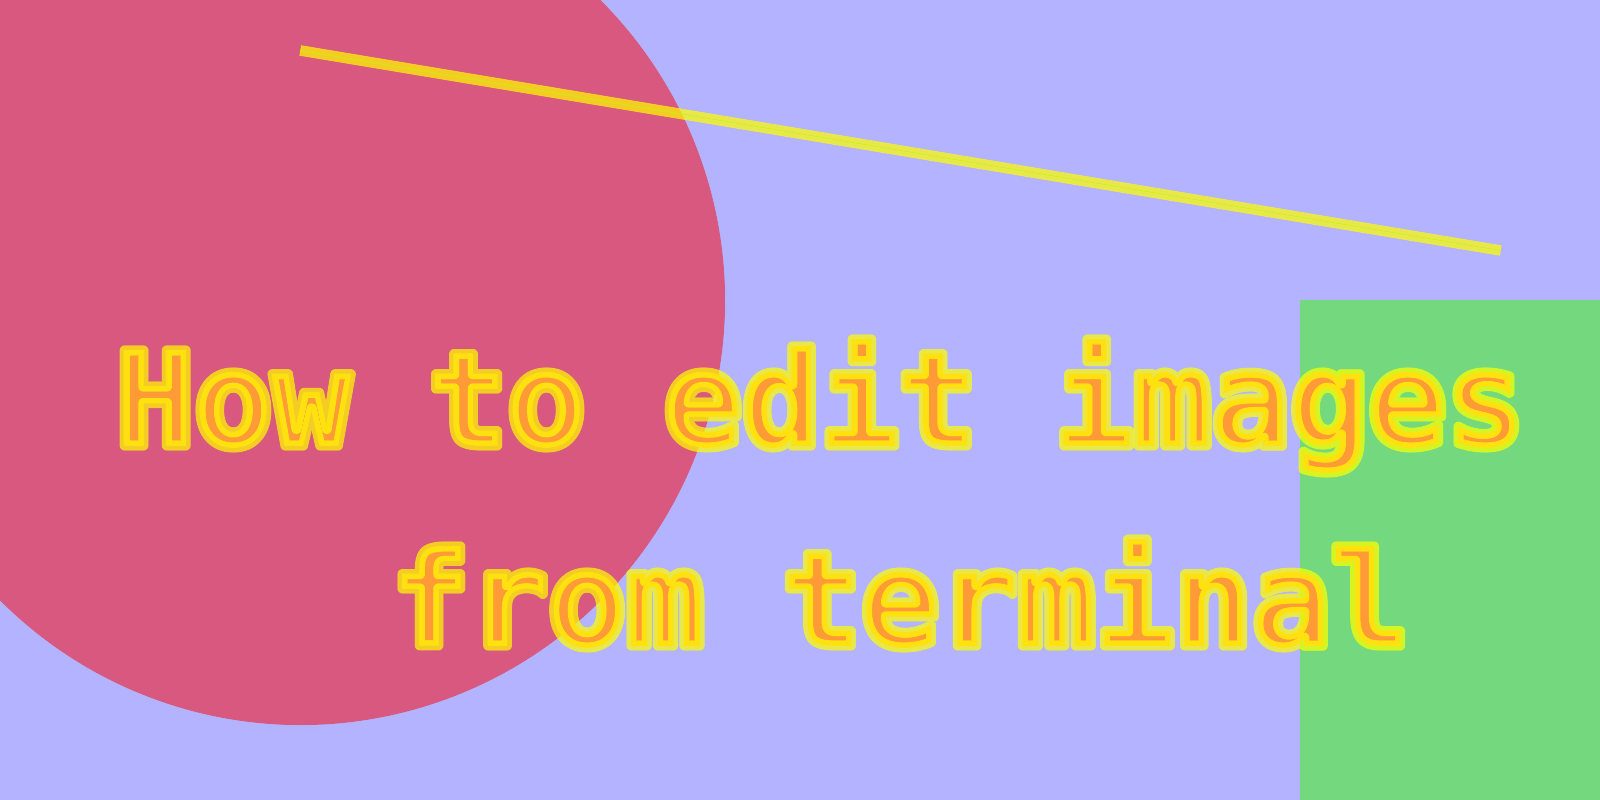
And finally, the Awesome banner of this article is created with this script:
#!/bin/bash
# Create image with simple shapes
convert -size 1600x800 xc:none \
-fill "rgba(0,0,255,0.3)" -draw "rectangle 0,0,1600,800" \
-fill "rgba(255,0,0,0.5)" -draw "circle 300,300 600,600" \
-fill "rgba(55,255,0,0.5)" -draw "rectangle 1300,300 1600,800" \
-fill "rgba(0,255,0,0.7)" -stroke "rgba(255,255,0,0.7)" -strokewidth 10 -draw "line 300,50 1500,250" \
-font "DejaVu-Sans-Mono-Bold" -pointsize 130 -fill "rgba(255,155,55,1)" \
-gravity center -size 800x -fill "rgba(255,155,55,1)" \
-draw "text 20,0 'How to edit images'" \
-draw "text 100,200 'from terminal'" image.png
Related Articles


Most Recent Articles


Most Viewed Articles


0 Comments, latest
No comments.