Capture Your Screen Like a Pro in i3wm: Complete Setup and Configuration
Category: Linux
Date: February 2024
Views: 1.11K
Introduction
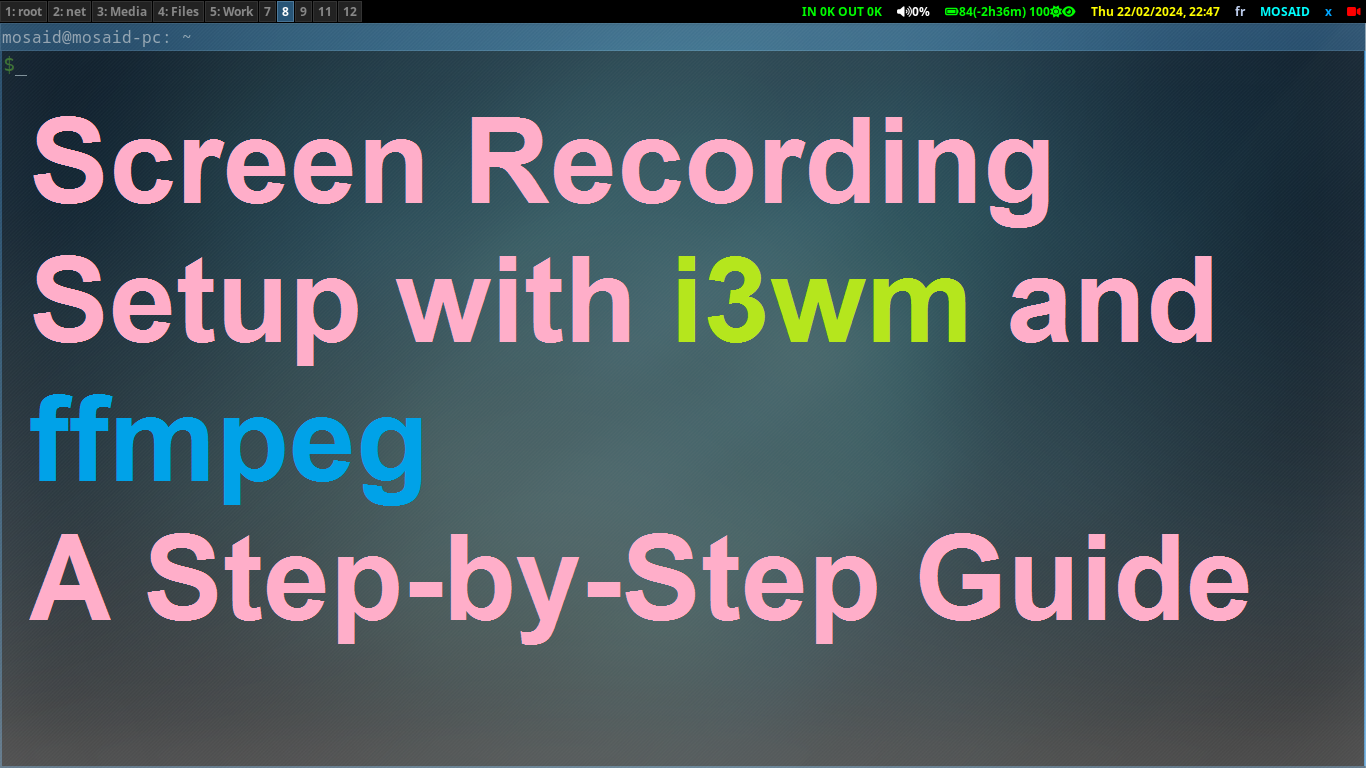
In this tutorial, I'll guide you through setting up efficient screen recording capabilities within the i3 window manager (i3wm) environment using ffmpeg. i3wm is a highly customizable tiling window manager, prized for its minimalism and efficiency. Screen recording is a valuable tool for various purposes, including creating tutorials, delivering presentations, and reporting software bugs. By leveraging the flexibility of i3wm and the power of ffmpeg, you can create a seamless workflow for capturing and sharing your screen content.
Setting up i3 Configuration
Configuring i3wm to facilitate screen recording is straightforward. Start by editing the i3 configuration file located at ~/.config/i3/config. Within this file, you can define keybindings to execute specific commands. For our purpose, we'll assign a key combination to initiate the screen recording process.
Here's an example of how to define a keybinding to trigger the screen recording script:
bindsym mod1+r exec --no-startup-id ~/bin/ff_screen_rec
In this snippet, mod1+r represents the key combination (in this case, Alt + r) that will activate the screen recording. The exec command is used to execute a shell command, and --no-startup-id ensures that the command runs asynchronously without waiting for startup notifications. finally the ff_screen_rec is my bash script
Creating the Screen Recording Script
To facilitate screen recording within the i3wm environment, we'll create a custom Bash script utilizing ffmpeg. This script automates the process of capturing the screen and optionally recording audio inputs.
Below is the Bash script:
#!/bin/bash

function ff_recscreen(){
    # Function to initiate screen recording

    # Define output file path with timestamp
    outputfile="${HOME}/Videos/ff_rec/$(date +%G_%m_%d_at_%H-%M-%S).mkv"

    # Determine audio input and output sources
    audioInputSource=$(pactl list sources short | awk '{print $2}' | grep input | tail -1)
    audioOutputSource=$(pactl list sources short | awk '{print $2}' | grep output | tail -1)

    # Get screen resolution
    SCREEN_res=$(xrandr -q --current | grep '*' | awk '{print $1}' | head -1 )

    # Set screen capture area based on input parameter
    if [[ "$1" == "2" ]]; then
        screen="1920+0"
    else
        screen="0+0"
    fi

    # Print audio and screen information
    printf '\033[1;32m audio1 : \033[1;0m %s\n' "$audioInputSource"
    printf '\033[1;32m audio2 : \033[1;0m %s\n' "$audioOutputSource"
    printf '\033[1;32m screen : \033[1;0m %s\n' "$SCREEN_res +0.0+$screen"

    # Prompt user to continue
    IFS= read -rN 1 -p "continue (Y/n) ? : " answer
    echo
    [[ "$answer" == "n" ]] &&  return

    # Construct ffmpeg command for screen recording
    cmd="ffmpeg"
    if [[ -n $audioInputSource  ]] ; then
        cmd+=" -f pulse -thread_queue_size 1024 -ac 2 -i $audioInputSource"
    fi
    if [[ -n $audioOutputSource ]] ; then
        cmd+=" -f pulse -thread_queue_size 1024 -ac 2 -i $audioOutputSource"
    fi
    cmd+=" -f x11grab -thread_queue_size 1024 -r 30 -s $SCREEN_res -i :0.0+$screen"
    cmd+=" -vf scale=trunc\(iw/2\)*2:trunc\(ih/2\)*2"
    cmd+=' -c:v libx264 -preset ultrafast -crf 18'
    cmd+=' -af highpass=f=200,lowpass=f=3000'
    cmd+=" -acodec pcm_s16le"
    cmd+=" -threads 0"
    cmd+=" $outputfile"

    # Update i3blocks and indicate recording in progress
    pkill -RTMIN+14 i3blocks
    touch /tmp/recording_in_progress
    $cmd &
}

function ff_kill(){
    # Function to stop screen recording and cleanup

    # Remove recording flag file
    rm /tmp/recording_in_progress 2> /dev/null

    # Terminate ffmpeg process
    pkill -2 ffmpeg

    # Update i3blocks
    pkill -RTMIN+14 i3blocks
}

# Check if recording is in progress
if [[ -f "/tmp/recording_in_progress" ]]; then
    ff_kill
else
    ff_recscreen
fi
When the recording process starts, the script creates a temporary file to indicate that recording is in progress. It also sends a signal to i3blocks to update its status indicator accordingly. Conversely, when the recording ends, the script runs differently based on the presence of the temporary file. This approach ensures seamless integration with i3wm's status bar and facilitates efficient management of the recording process.
Integrating with i3blocks
i3blocks serves as a valuable tool for displaying status information in the i3wm status bar. Integrating our screen recording setup with i3blocks allows for seamless monitoring of the recording process.
To configure i3blocks for this purpose, we define a custom block in the i3blocks configuration file. This block executes a script to provide real-time updates on the recording status.
Here's an example of how to configure i3blocks:
[recording_status]
color=#FF0000
command=~/.i3/top-bar/recording_status.sh
interval=once
signal=14
The above configuration defines a block named recording_status with a red color indicator. It executes the script ~/.i3/top-bar/recording_status.sh to fetch the recording status. The interval=once parameter ensures that the script is executed only once per interval, and the signal=14 specifies the signal to be sent for updates.
Now, let's take a look at the shell script responsible for providing the recording status:
#!/bin/bash
if [[ -f /tmp/recording_in_progress ]]; then
echo " "
else
echo ""
fi
This script checks for the existence of the /tmp/recording_in_progress file. If the file exists, it echoes a small  in the top right corner of my screen to indicate that a recording is in progress. Otherwise, it echoes nothing, indicating that no recording is currently taking place.
To initiate screen recording, simply press Alt + r on your keyboard. To stop the recording, press Alt + r again. And the recording process will be termianted, then the  icon in i3blocks will disappear, signifying that the recording has ended.
Conclusion
In conclusion, integrating screen recording capabilities into the i3 window manager environment offers a seamless and efficient solution for capturing your screen content. By leveraging the power of ffmpeg for recording and i3blocks for status indication, users can easily initiate, monitor, and manage screen recordings directly within their i3wm setup.
This setup not only provides convenience but also enhances productivity by streamlining the screen recording process. Whether creating tutorials, presentations, or bug reports, i3wm users can rely on this integrated solution to meet their recording needs effectively.
With the flexibility to customize and extend the setup further, users can tailor it to their specific requirements and preferences. Overall, incorporating screen recording functionality into i3wm enhances the user experience and adds valuable capabilities to this lightweight and customizable window manager.
Appendix: Troubleshooting and FAQs
Here are some common troubleshooting tips and frequently asked questions related to setting up screen recording within the i3 window manager:
1. Screen Recording Not Starting
If the screen recording does not start when pressing Alt + r, ensure that the keybinding is correctly configured in your i3 configuration file. Double-check the syntax and ensure that the script path is accurate.
2. No Audio in Recorded Videos
If your recorded videos lack audio, verify that the audio input and output sources are correctly specified in the screen recording script. Additionally, ensure that the selected audio sources are functioning properly and not muted.
3. i3blocks Not Displaying Recording Status
If i3blocks does not show the recording status indicator, check the configuration of the [recording_status] block in your i3blocks configuration file. Ensure that the command path and signal number match the setup described in this tutorial.
4. Recording Quality or Performance Issues
If you encounter issues related to recording quality or performance, consider adjusting the ffmpeg parameters in the screen recording script. Experiment with different settings such as frame rate, resolution, and encoding options to optimize the recording quality and performance for your system.
5. Check xsession-errors file for erros
you can check tail -f ~/.xsession-errors for more i3wm troubleshooting.
If you have further questions or need troubleshooting assistance, feel free to comment below, and I'll be glad to help!
References and Resources
Here are some valuable references and resources for further learning and exploration:
1. i3wm Documentation
Official documentation for the i3 window manager, providing comprehensive guides and references for configuring and using i3wm effectively.
2. ffmpeg Documentation
Official documentation for ffmpeg, offering detailed explanations of ffmpeg's features, options, and usage for audio and video processing tasks.
3. i3blocks Documentation
Documentation for i3blocks, containing information on configuring and customizing i3blocks for displaying status information in the i3wm status bar.
4. Online Forums and Communities
Engage with the i3wm and ffmpeg communities through online forums and discussion platforms such as Reddit's i3wm community. These communities often provide valuable insights, tips, and solutions for troubleshooting and optimization.
Explore these resources to deepen your understanding of i3wm, ffmpeg, and related tools, and to connect with fellow users for support and collaboration.






0 Comments, latest